So this morning, it's 15 degrees at my house and we have about 8" of snow and it's October 10th. Wow.... This is a little brutal for the season of pumpkins, football and candy corn, even in Montana! The sun is supposed to come out and shine for a few days so maybe we can get fall back on track the rest of the week. I'm picking up my son and his new wife at the airport around midnight tonight and they have been on a beach for the last 5 days. Boy are they in for a surprise!
Since it's snowy and cold, I am really inspired to share the "Let It Snow" bundle with you today. I have to admit there were two things that drew me to this bundle right off the bat, 1) the gorgeous color scheme of the Designer Series Paper and patterns in it, and 2) the super cute "Let It Snow" embellishment kit. These are amazing little stick on accents that will delight you as you create your masterpiece! I had a lot of fun with this whole bundle and have it here to show you:
I'm pretty sure one blog post won't cover everything this bundle as to offer but I'll start with some cards like the one above. First, there is a snowman builder punch! You can stamp the snowman and then also punch a hat, nose and two twig arms. For these merry fellows, I used some retired black glimmer paper for their hats and scarves and arms from the embellishment kit (see in supply list). The kit also has some white sparkly washi tape that I used for snow.
This card features some of the Designer Series Paper! Using my Stitched Oval dies, I cut out the snowman from the DSP and also cut out the background snowy scene. The smaller snowman was also part of the DSP and I fussy cut that guy out. The DSP has some sparkly snow already on it!
Here's a fun trick... cut out snowmen from the DSP with your snowman builder punch! They are sized just right and fun to punch out. Here's a tip - I always cut around the snowman leaving about a 1/4" margin if possible from the 12 x 12" sheet of DSP and then use a punch. If you need something to hang on to while you are punching, add a sticky note to the edge of your DSP, allowing you to get the snowman centered in the punch. This card also features hats and arms punched with the snowman builder punch and some more examples of the gorgeous DSP!
I couldn't resist making some 3"x 3" gift cards using the stamps and more of the DSP. I made my own cards by cutting a 12" x 12" sheet of Whisper White into eight 3" x 6" pieces, scoring each of them in the middle. You can buy the envelopes from our online store. I added some DSP to the flaps just for fun!
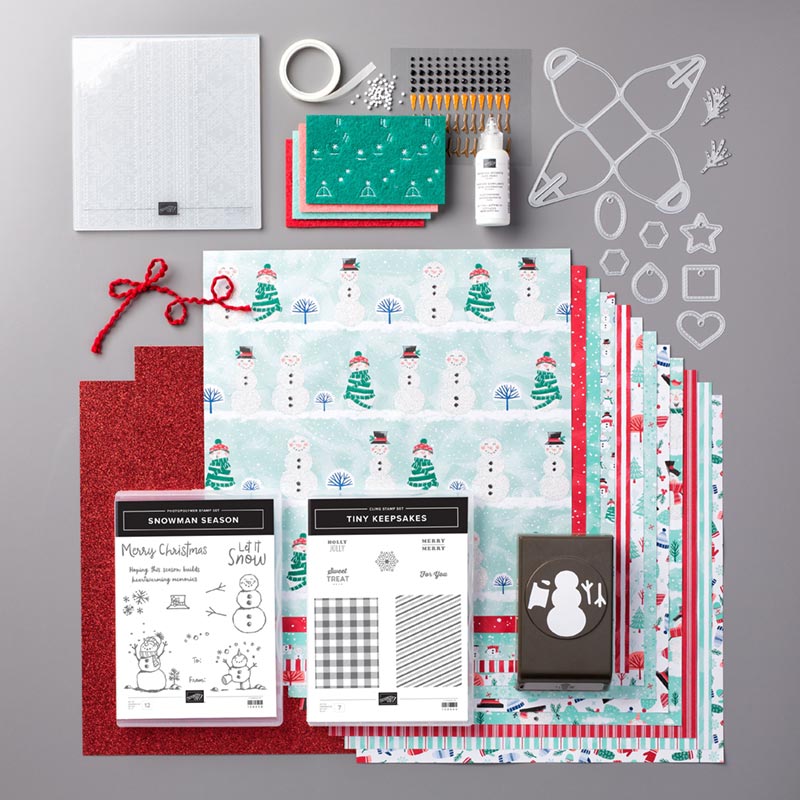
I've already made some more projects with this fun suite and will share them soon. Like I said, too many wonderful things for just one blog post! Here's a peek at the entire suite and be sure to check out the products I used in this post in my supply list below. A click on any of them will take you to the online store!

Wow, that's a whole lot of fun, isn't it?!! Stay tuned for the next time I play with "Let It Snow". Are you tempted to play? It's easy to jump in and a stamp/punch bundle is affordable and needs no extra equipment. Add some paper, ink and maybe the embellishment kit and you will have hours of fun and make tons of projects to delight your family and friends. This is the easiest hobby I've ever tried for beginners and it only gets better as you perfect your style. Talk to me today! I would love to share my passion for stamping with you.
Until next time, Happy Stampin'!
Sarah


No comments:
Post a Comment